|
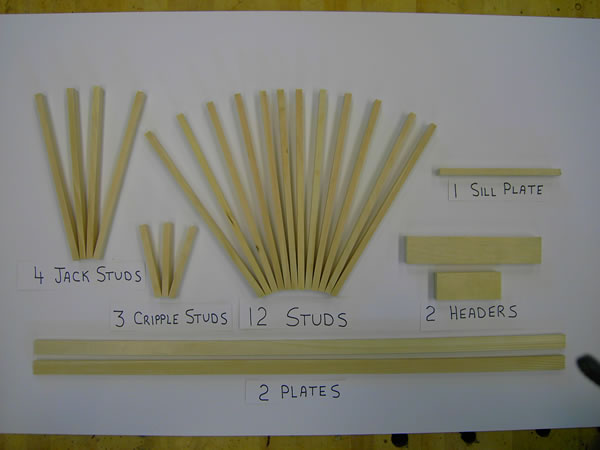
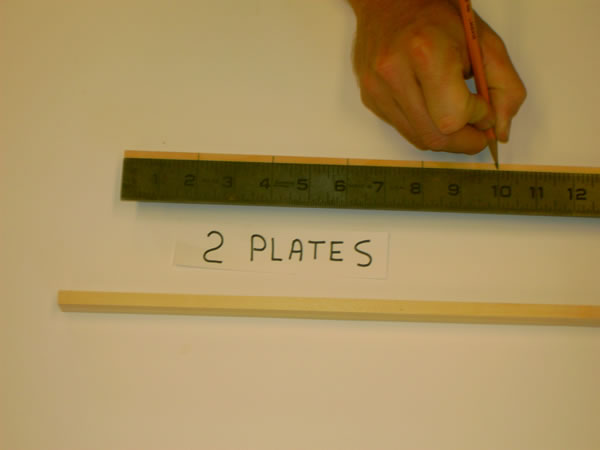
1. These are the parts in the wall
- 2 plates (top and bottom) - 30"
- 12 studs - 11"
- 4 jack studs (trimmer studs) - 9 1/2"
- 1 Window Header
- 1 Door Header
- 3 Cripple Studs - 4"
- 1 Sill - 6 15/16" |
 |
|
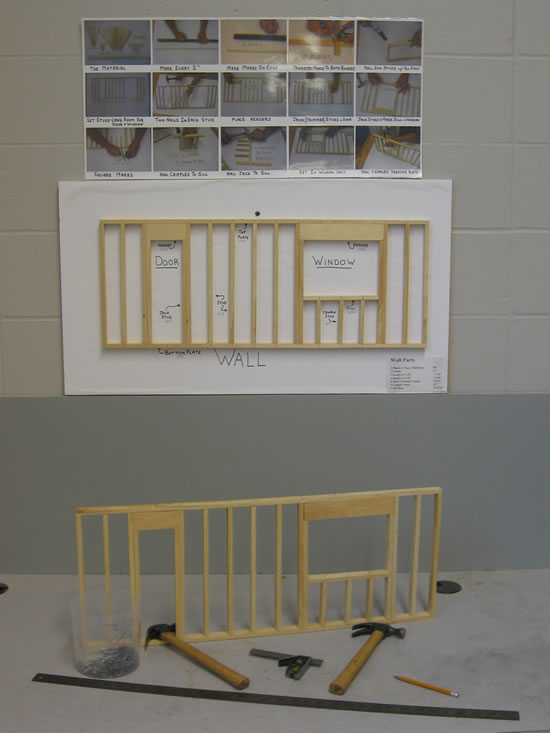
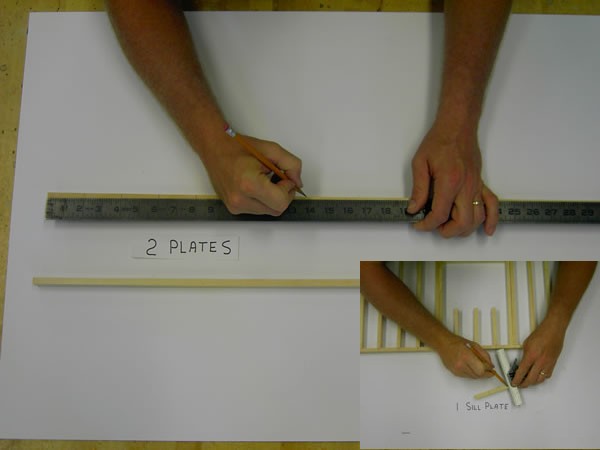
2. Mark the first plate
- use the 36" rule
- beginning on the end mark every 2"
- both the top & bottom plates are 30"
- there should be 14 marks on the plate |
 |
|
3. Transfer the marks
- place the plates together
- transfer the marks and place a straight line across both plates through the mark
- use the combination square |
 |
|
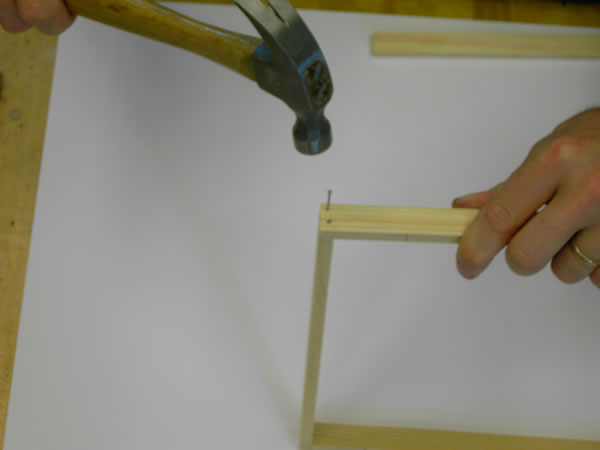
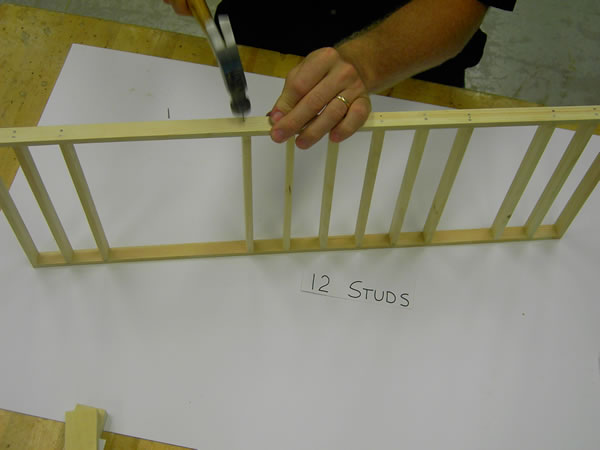
4. Nail the End Studs
- Use two nails on each end of the studs
- Form a rectangle out of with the plates by nailing a stud evenly to the end of both plates. |
 |
|
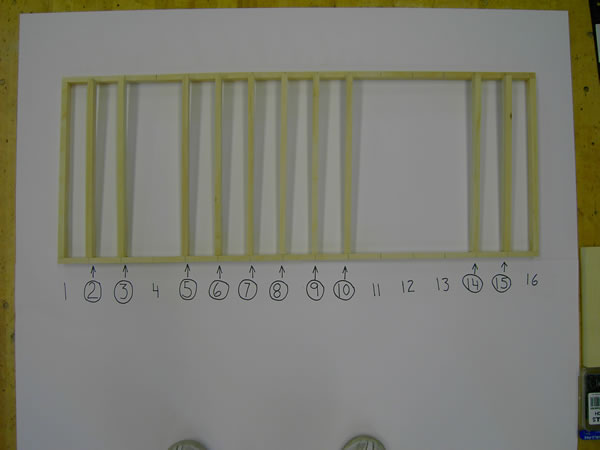
5. Place the Studs
- Notice #1 and #16 are the end studs you just nailed on to the plates
- Skip and do not nail studs on #4 (this is the door) or #11, 12, 13 (this is the window).
- Place studs on the circled numbers.
- Nail to nails into both ends of all the studs
|
 |
|
6. Nail the Studs
- Use two nails for both ends of the studs. |
 |
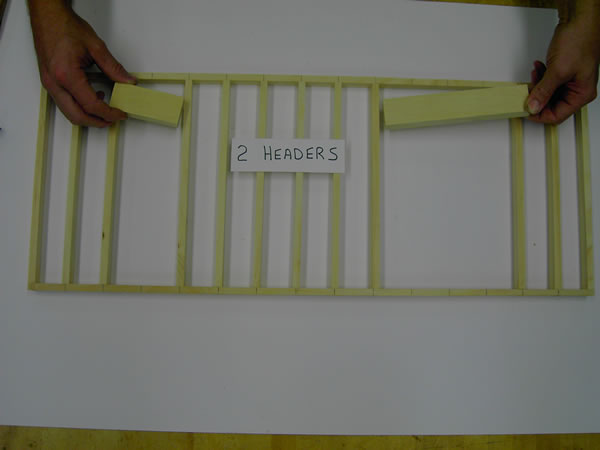
7. Insert the headers
- There will be the door header (left)
- There is also a windo header (right) |
 |
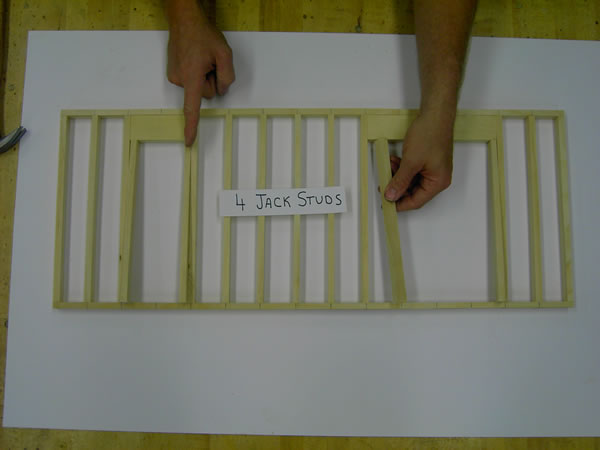
8. Jack Studs
- Insert and nail the Jack Studs under the header for the door.
- The Jack Studs for the Window will need to attached to the Sill and Cripple Studs before they can be placed into the window. |
 |
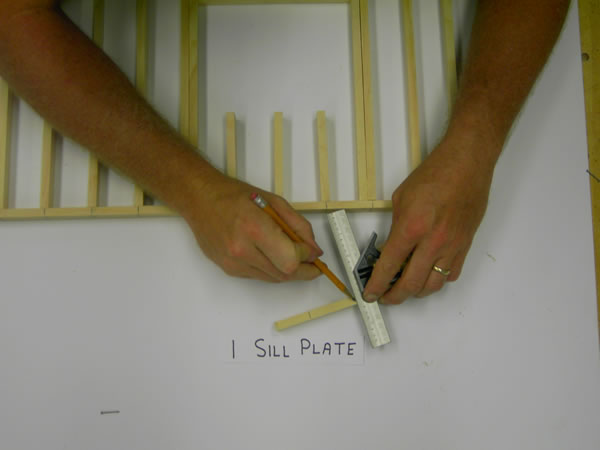
9. Mark the Sill
- Fit the Sill into the bottom of the Window against the Bottom Plate with the Jack Studs setting under the Header.
- Transfer the three stud marks onto the sill plate. |
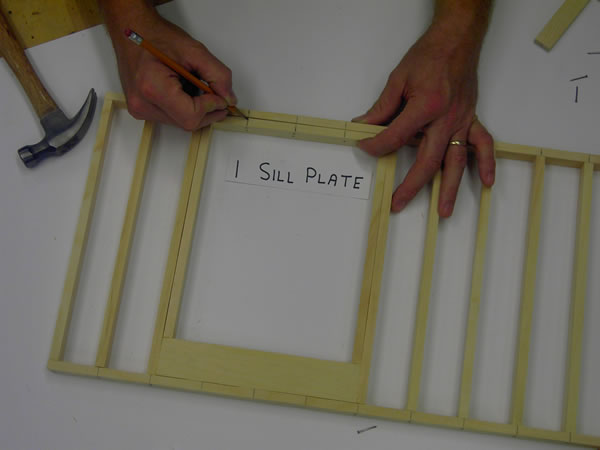 |
10. Square the Marks
- Use the square to draw a straight and square line through the marks. |
 |
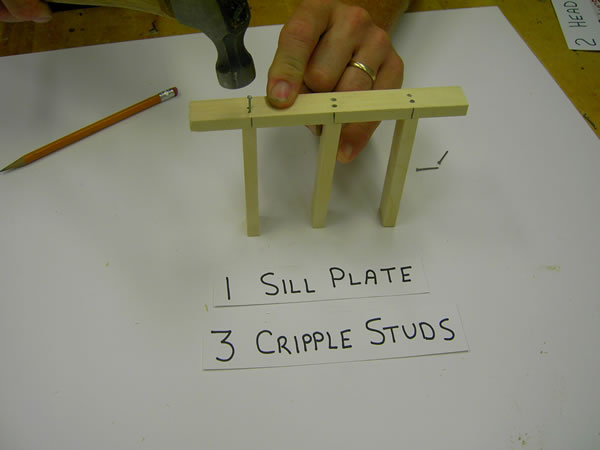
11. Nail Cripple Studs to Sill
- Line the Cripple Studs up with the lines on the Sill Plate
- Drive 2 nails into each Cripple Stud |
 |
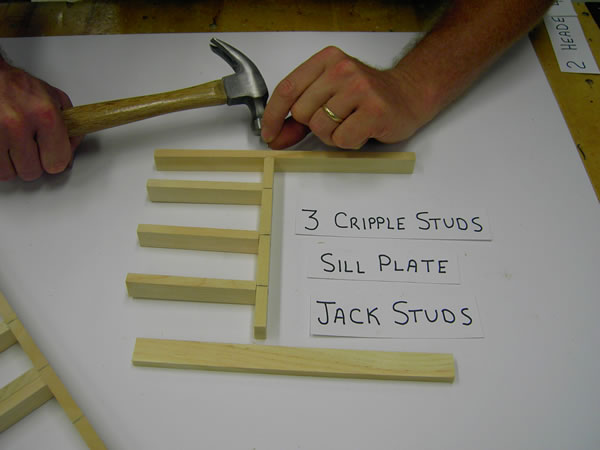
12. Nail Jacks to Sill
- Lay the Sill and Cripples into the windo against the Jack Studs and mark where the Sill will meet the Jacks.
- Remove the Sill, Cripples and Jacks from the window.
- Now you have a mark to line the Jack Studs up with correctly to the Sill.
- Place 2 nails through the Jack Stud into the Sill |
 |
|
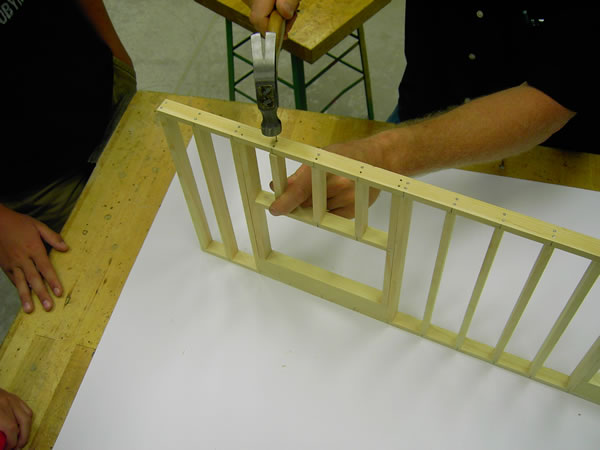
13. Fit the Window Frame
- Place the framed Window material into the Window Opening. |
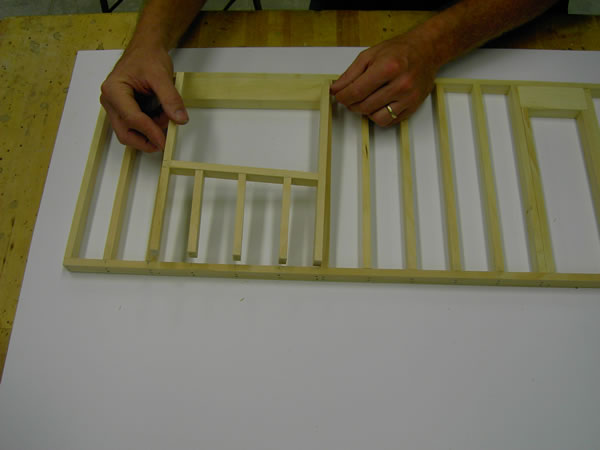 |
14. Attach Window Framing
- Nail the Cripple Studs from the bottom.
- Nail the Jack Studs into the Studs along the Header (these are called "King Studs") |
 |
|
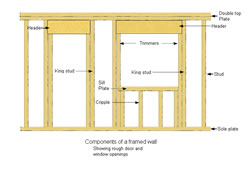
15. Your Wall is Completed
- Notice on this diagram that the
Jack Studs are called Trimmers,
the Studs on the outside the window and door are called King Studs and
there will be a second top plate attached when all the walls in the house have been stood up.
|
 |