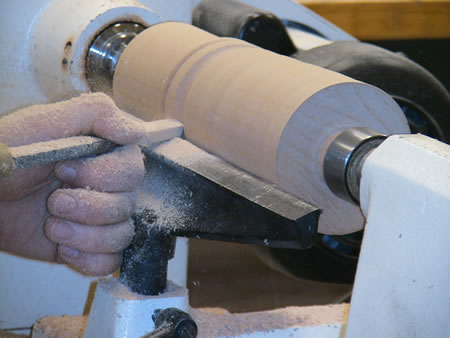
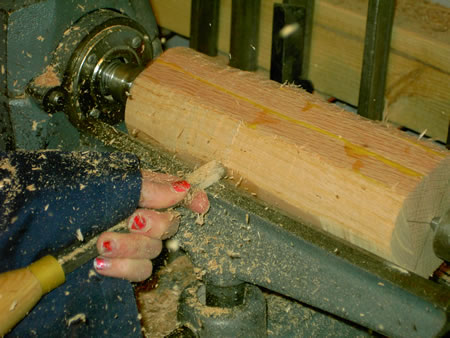
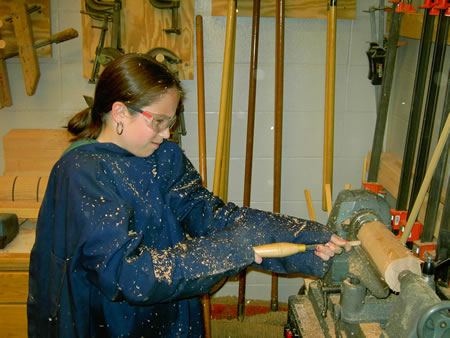
Making the Pedestal on the Lathe
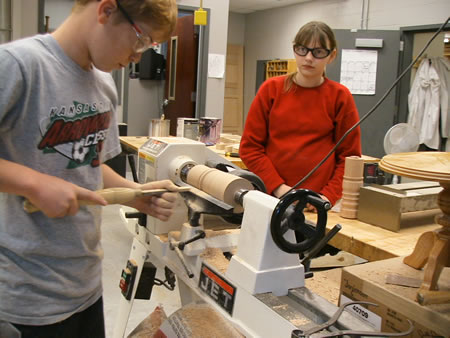
Shaping the wood block into a cylinder and then designing the pedestal.
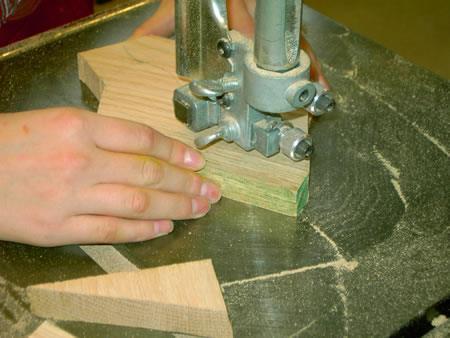
Cutting the Legs for the Pedestal on the Band Saw
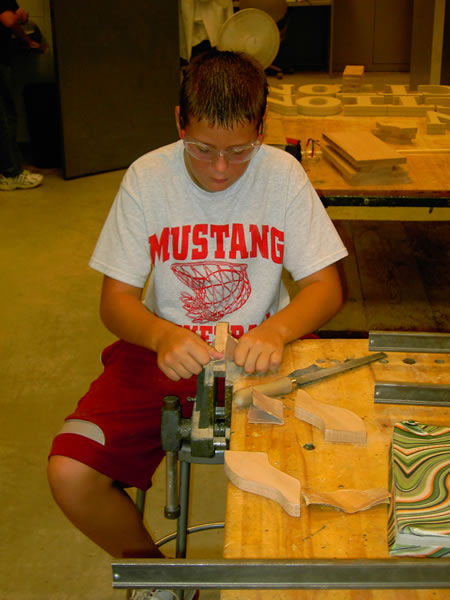
Filing and Sanding the Legs
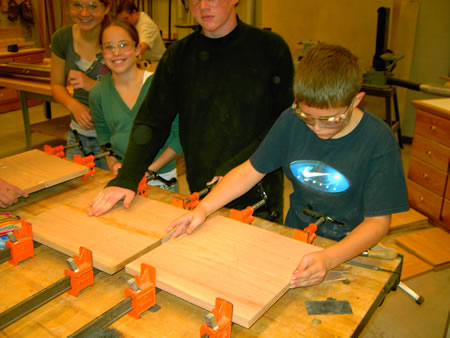
Gluing and Clamping the Table Top
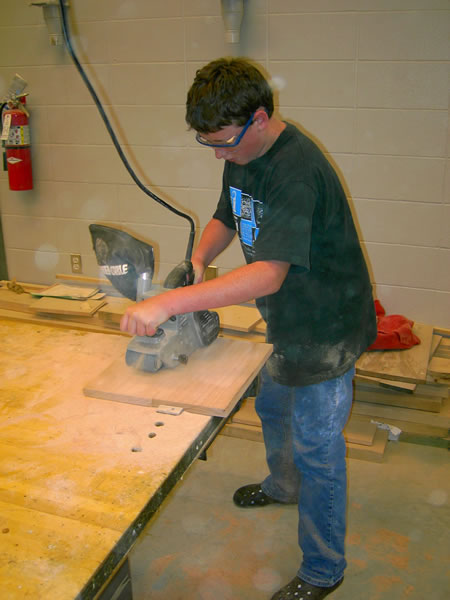
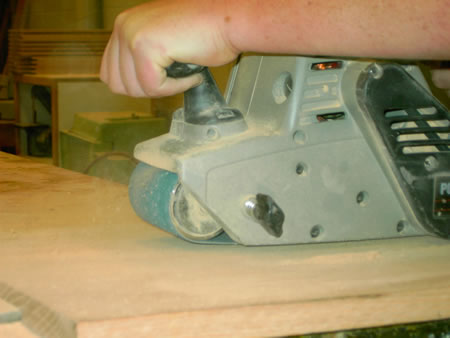
Belt Sanding the Table Top
Cutting the Circle for the Top on the Band Saw Using a Circle Jig
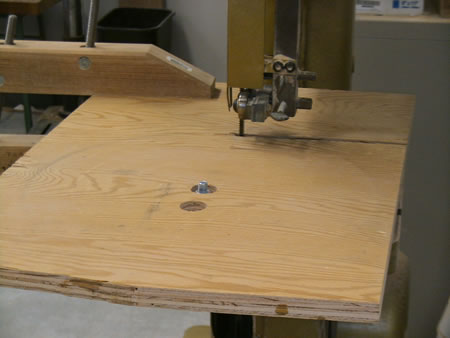
This it the jig.
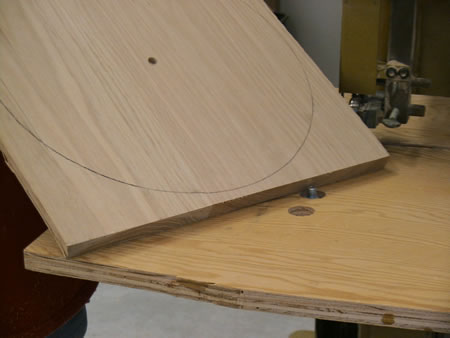
This is the table top with a 3/8" hole in the bottom
Place the center post in the 3/8" hole
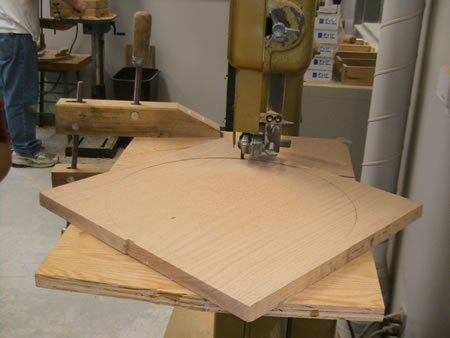
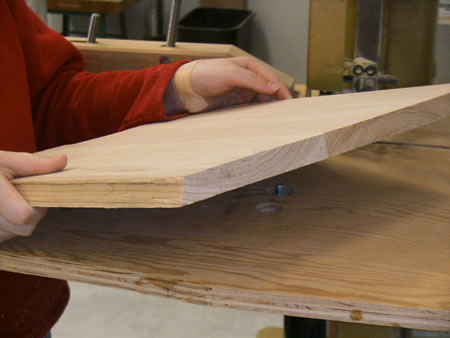
Rotate the table top as the band saw cuts.

Here is the perfect circle for the table top.
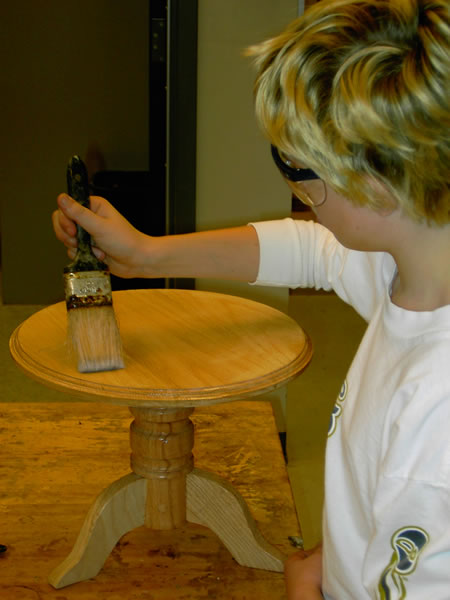
Polyurethane is Brushed on the Table
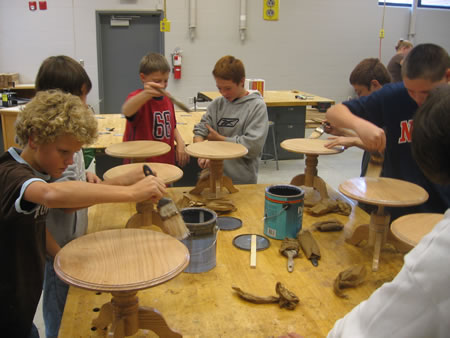
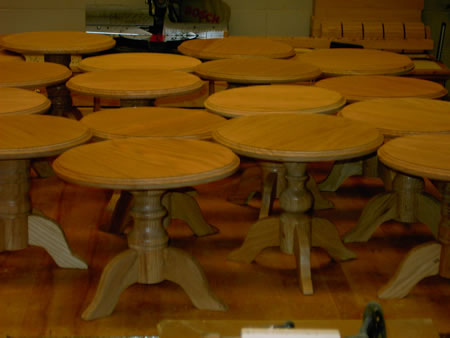
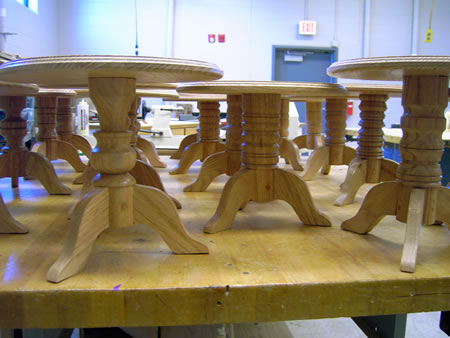
The Final Products Ready to be Taken Home