| |
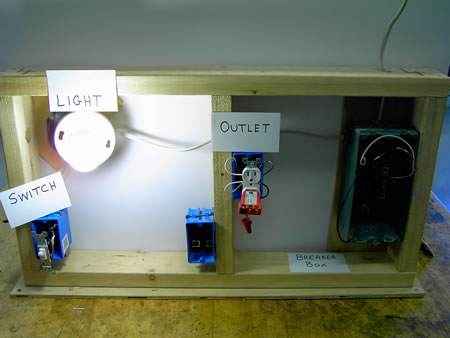
Each DCG seventh grader will wire a light, a switch and an outlet into a breaker box.
This is the final product of the student's work. 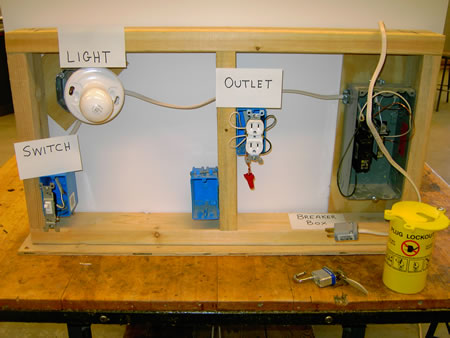
Each student will follow the steps below to wire their wall:
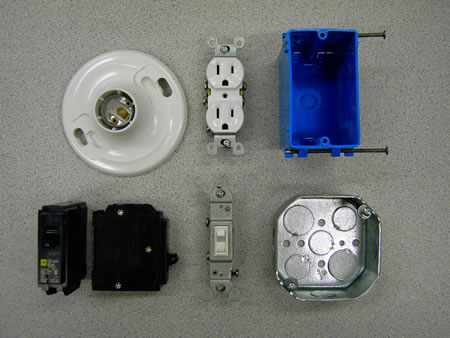
The Electrical Supplies used are a light plate, an outlet, 3 blue boxes, 1 breaker, a switch and a junction box.
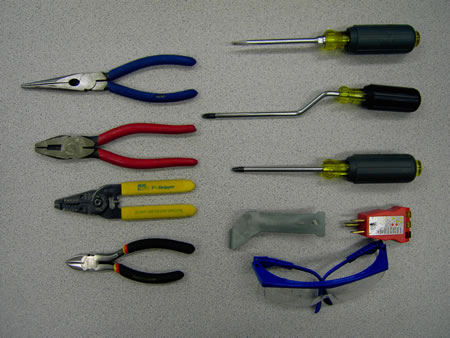
These are the electrical tools that are used in this module.
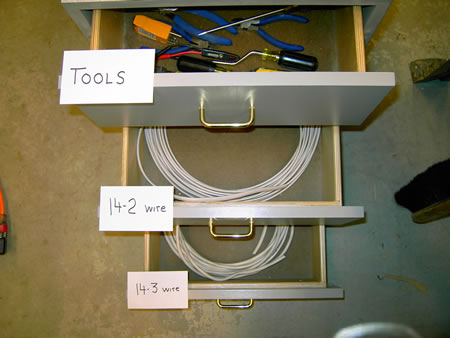
In the top draw of the module are the tools.
In the second drawer is the 14-2 wire.
The bottom drawer holds the 14-3 wire.
This is the breaker box in the module wall with a lockout box on the plug.
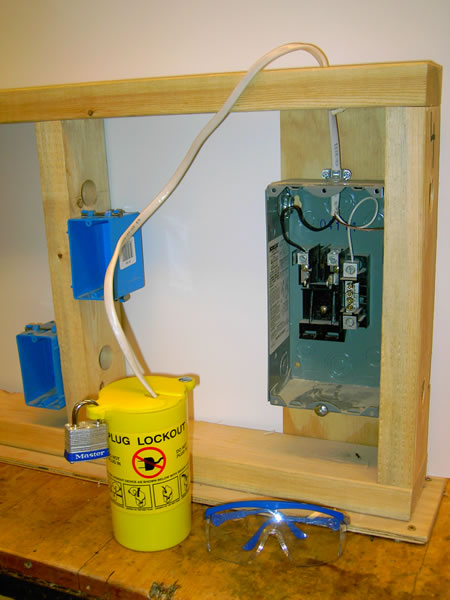
Insert wire into the breaker box through the wire clamp.
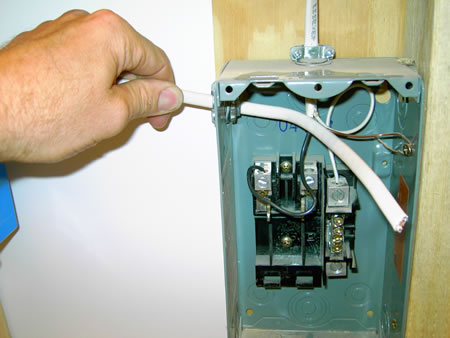
Be sure the wire is plenty long and then cut it.
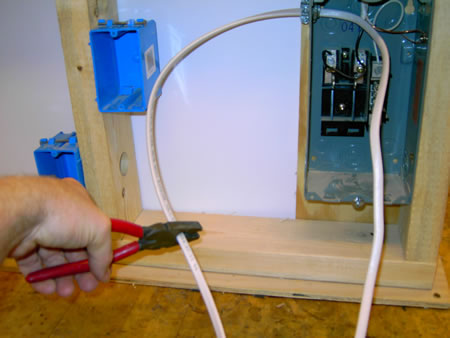
Run the wire to the boxes. This is called roughing in the wire.
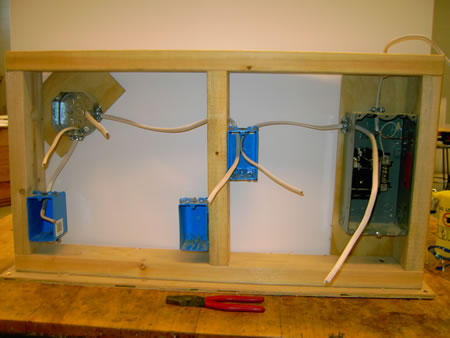
Tighten the wire clamps on the metal junction boxes.
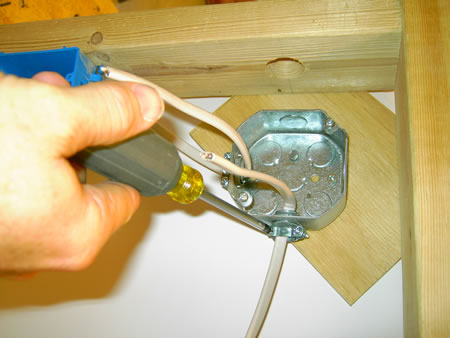
Using the sheathing strippers to cut the sheathing.
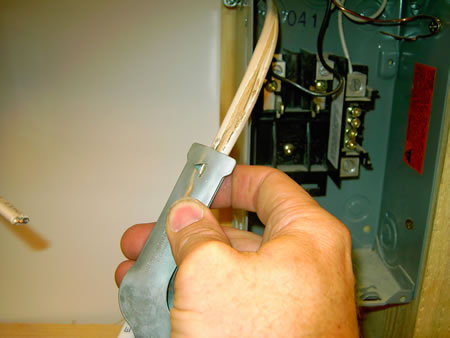
Here the sheathing has been cut and pulled back.
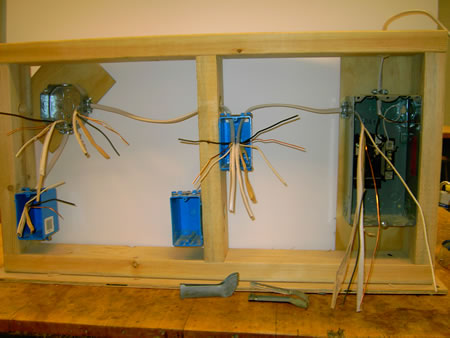
Cut off the sheathing.
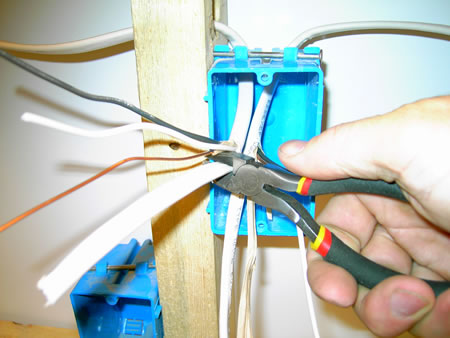
Use the wire strippers to cut off about 3/4" of the insulation off the end of each wire.
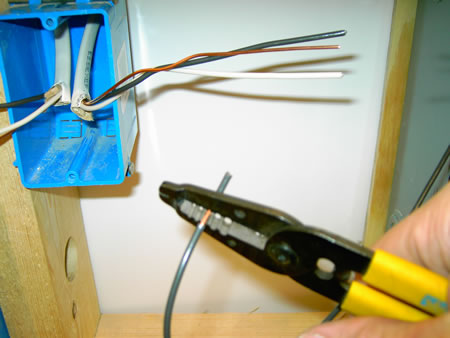
These wires have 3/4" of insulation cut off.
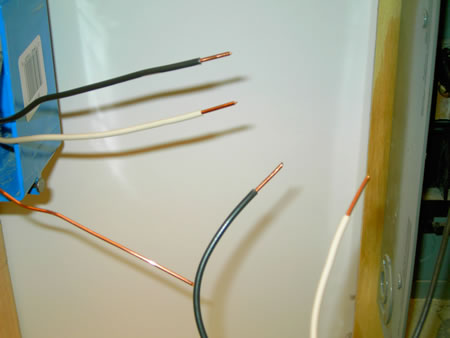
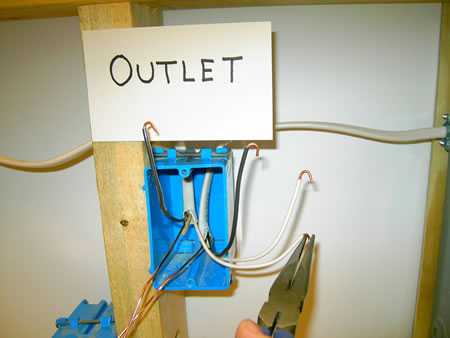
The wires that will connect to screws should be bent on the ends into a hook with the needle nose pliers.
The two ground wires have to be connected to one screw so they will be connected
with a wire nut to a third scrap piece of ground wire to form one hook for the one screw.
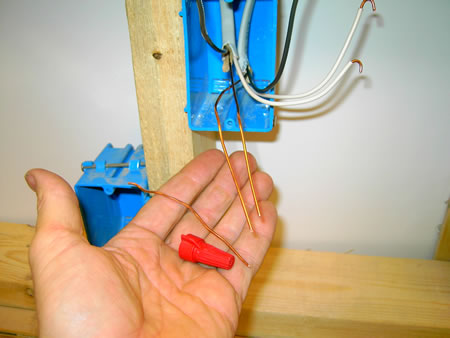
Here the pig tailed ground wires have been connected to the one ground screw (green screw).
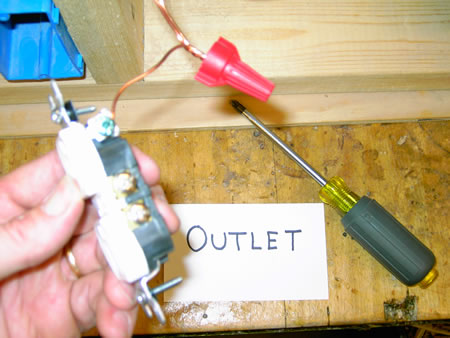
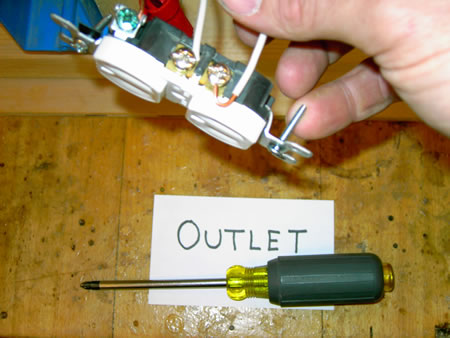
The white wires are connected to the silver screws.
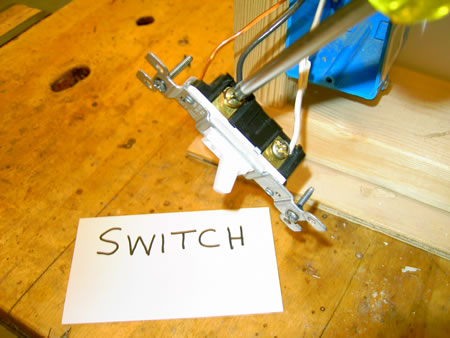
Be sure the hook points the same direction as the screw will turn when it is tightened.
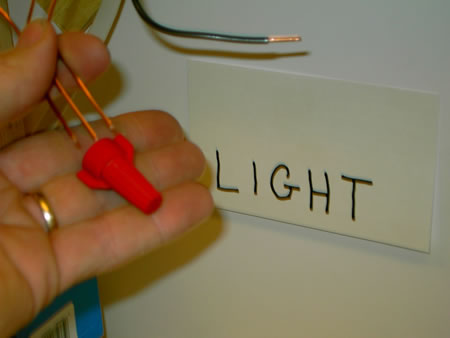
Pigtail the grounds in the light box.
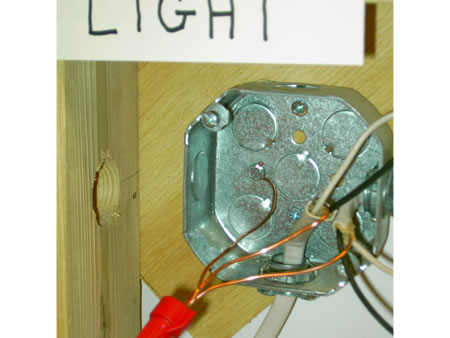
Connect the grounds in the light box to the back of the metal box under
a screw with a flat bottom under the head.
Wire nut the power source to the white wire running to the switch.
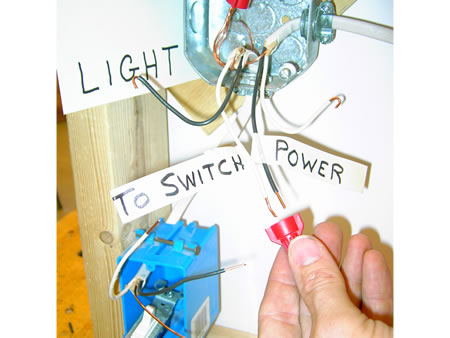
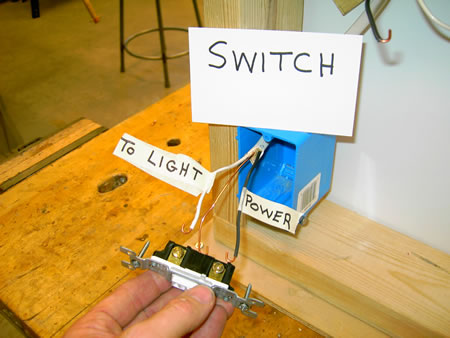
Hook all three wires in the switch box and connect them. It does not matter
which screw the black and white wire go to.
The ground wire must go to the green screw.
Place the hook the same direction as the screw tightens
In the light box connect the black wire to the brass screw and the white wire to the silver screw.
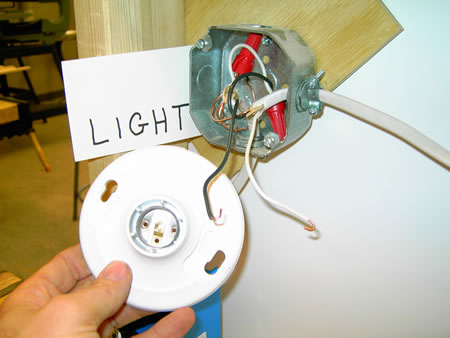
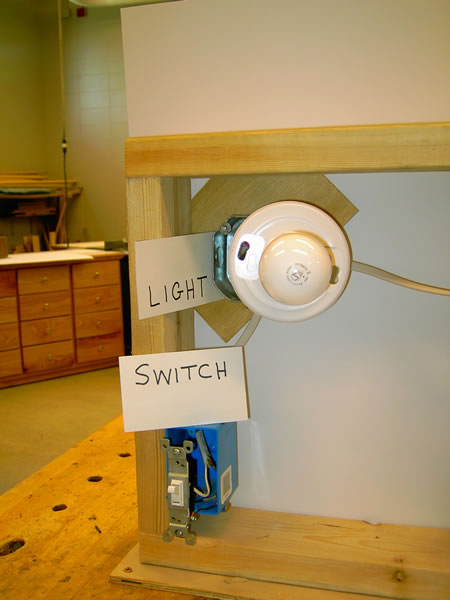
The completed light and switch.
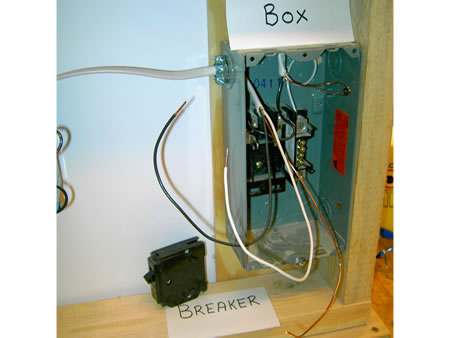
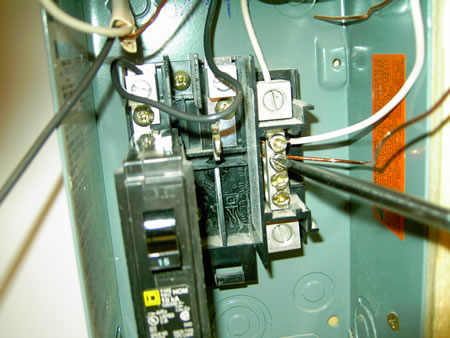
Take the breaker to the breaker box.
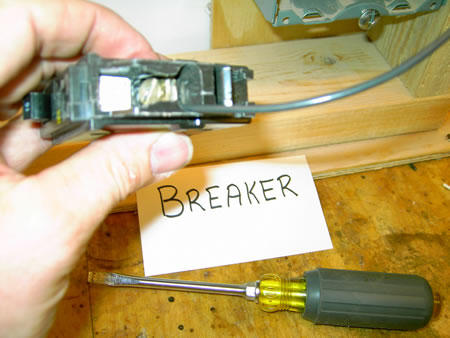
Connect the black wire to the breaker.
Snap the breaker into the breaker box.
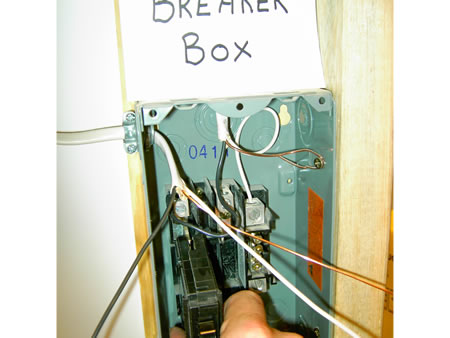
Set the white wire and the ground under the screw on the neutral bar.
The completed wall.The instructor will unlock the lockout box and plug in the wall after he has checked the work.

Place the tester in the outlet. Turn on the breaker and try the light switch.
|